If you’re planning a window replacement project, understanding rough openings is essential for a successful installation. Whether you’re a homeowner preparing for professional installation or working with a contractor, knowing the basics of window rough openings will help ensure your custom replacement windows fit perfectly and perform efficiently for decades to come.
What Is a Window Rough Opening?
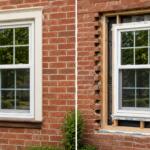
A rough opening refers to the framed opening in your wall where your window will be installed. This structural framework consists of a header across the top, a sill plate across the bottom, and vertical jack studs (trimmers) on either side. These framing components create the supporting structure that bears the load from above while providing the mounting surface for your window.
The rough opening is intentionally larger than the actual window unit. This extra space—typically about ½ inch on all sides—serves several critical purposes. It provides room for shimming and leveling during installation, allows for proper insulation placement, creates space for expansion and contraction with temperature changes, and accommodates the flashing and weatherproofing materials that protect against water infiltration.
For Mid-Atlantic homeowners, where temperature swings between seasons can be dramatic, this proper clearance is especially important. The extra space allows your windows to expand and contract naturally without binding or creating gaps that compromise energy efficiency.
Understanding Rough Opening vs. Actual Window Size
One of the most common sources of confusion in window replacement is the difference between rough opening measurements and actual window dimensions. Here’s how they relate:
Standard sizing rule: The rough opening should be approximately ½ inch larger than the window frame in both width and height. This means ¼ inch of clearance on each side of the window.
Example calculation: If your rough opening measures 36 inches wide by 48 inches tall, the actual window (also called the net frame size) should be approximately 35½ inches by 47½ inches.
Manufacturer variations: Different window manufacturers may have specific requirements. Some vinyl windows may need up to ¾ inch or even 1 inch of clearance, particularly if they use nailing fins for installation. Always consult your window manufacturer’s specifications before finalizing measurements or placing your order.
At Thompson Creek, our custom-manufactured windows are built to exact specifications in our Maryland facility, ensuring a perfect fit for your specific rough opening dimensions. This custom approach eliminates the guesswork and reduces installation complications common with stock-sized windows.
How to Measure a Window Rough Opening Accurately
Precise measurement is the foundation of successful window installation. Professional installers follow a systematic approach to ensure accuracy, and homeowners should understand this process even if they’re hiring professionals.
Essential tools you’ll need:
- High-quality tape measure (25-foot minimum)
- 4-foot level
- Carpenter’s square
- Pencil and notepad
- Ladder or step stool (for higher windows)
Step-by-step measurement process:
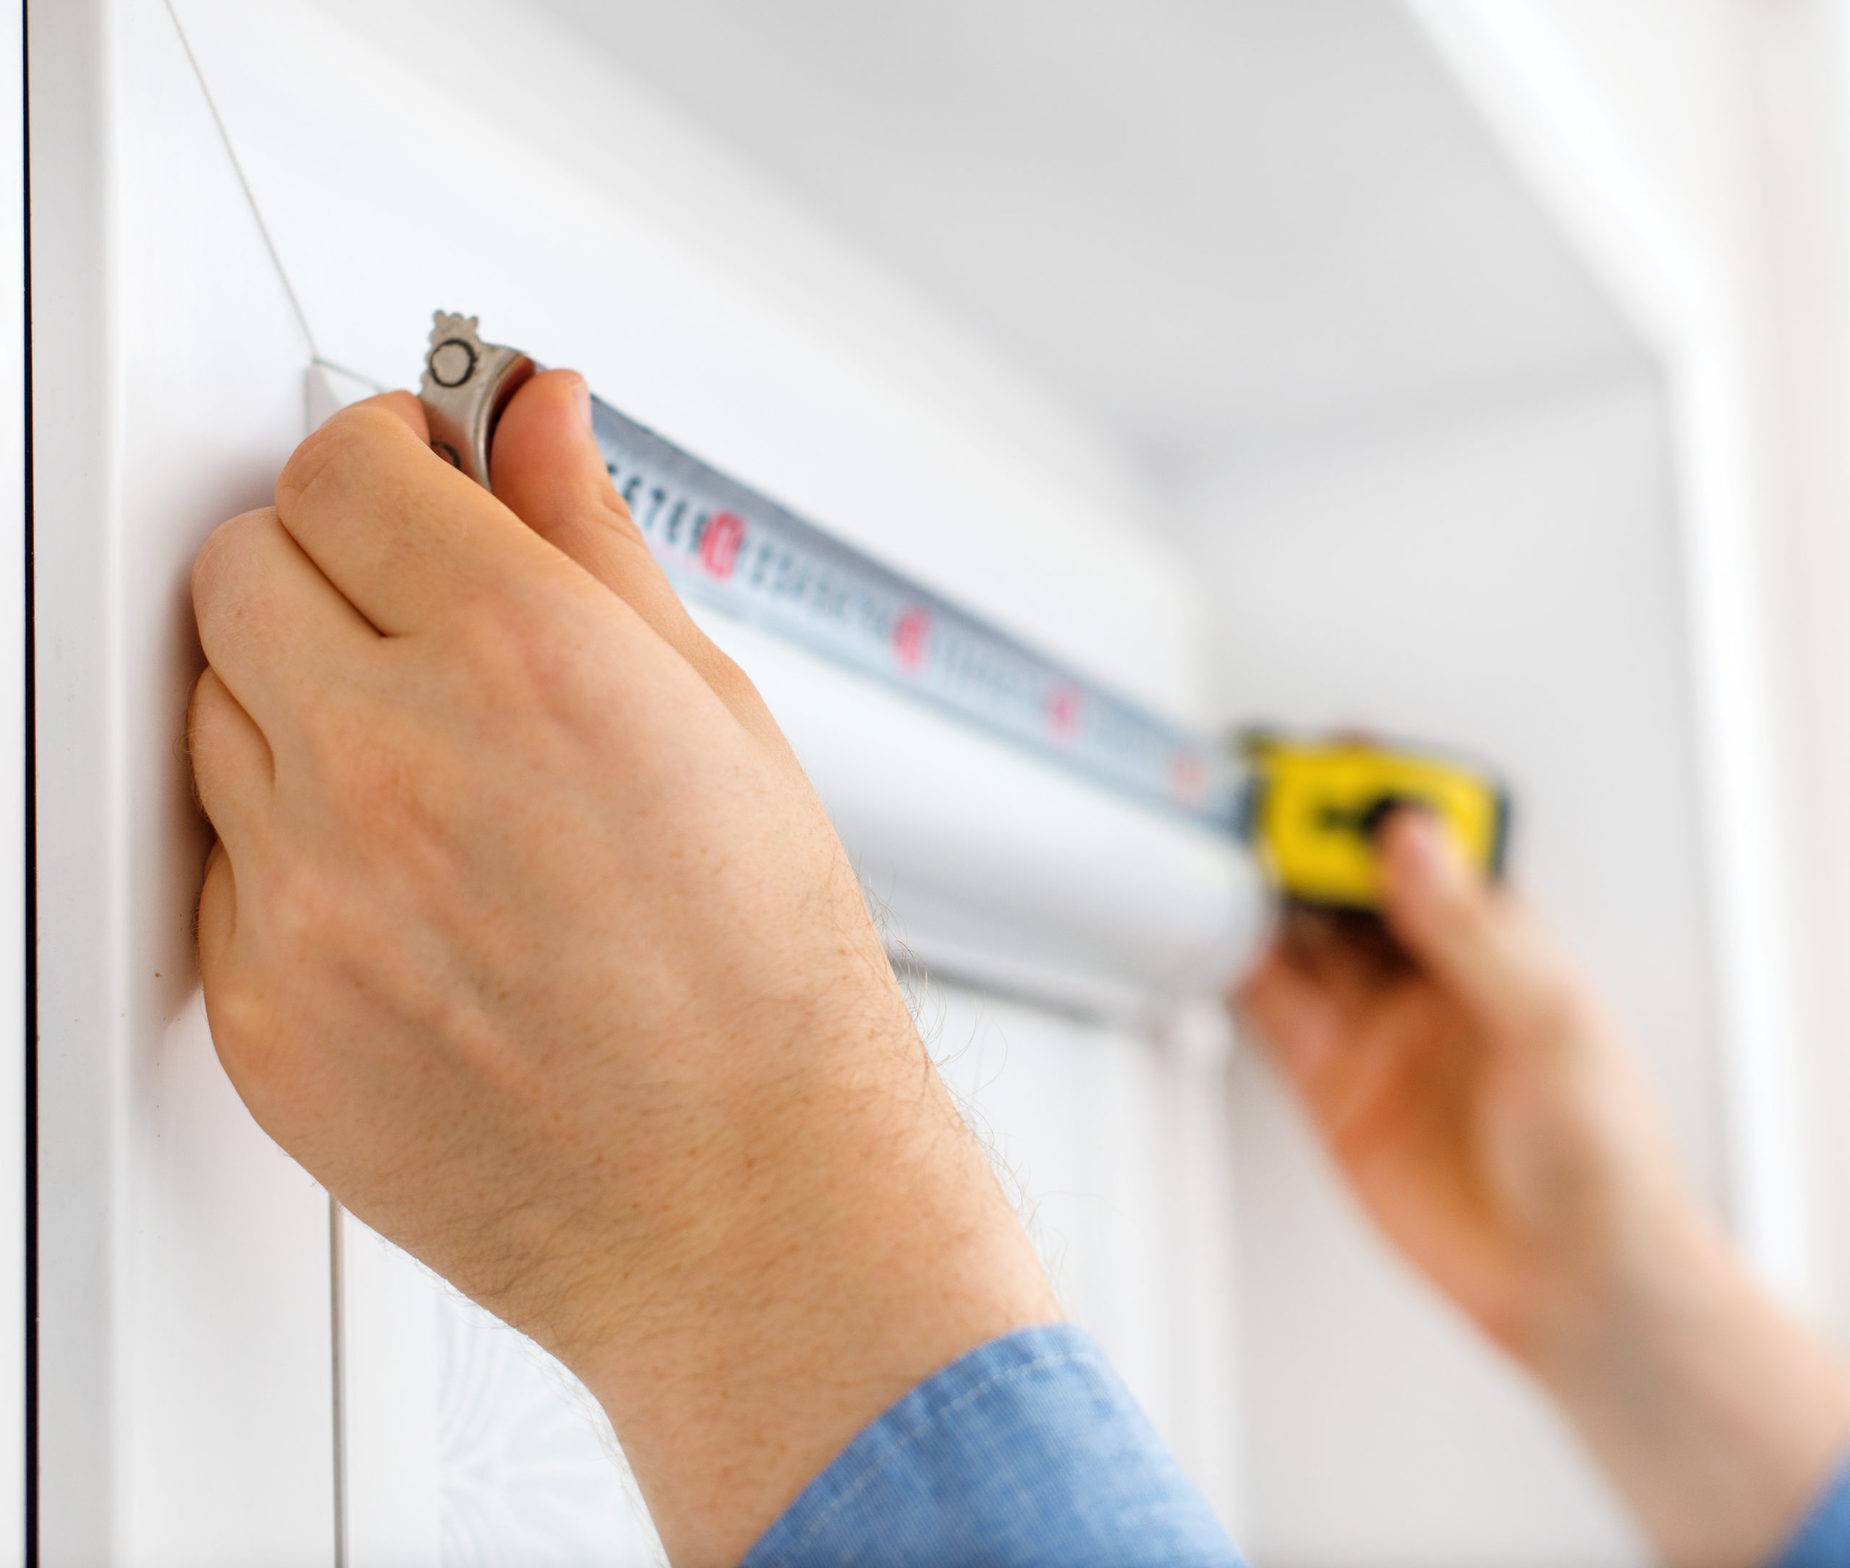
- Measure the width (horizontal dimension) Take three separate measurements across the opening:
- Near the top (just below the header)
- At the middle (halfway point)
- Near the bottom (just above the sill)
Record all three measurements and use the smallest one. Walls and frames often shift over time, so the tightest measurement ensures your window will fit at every point.
- Measure the height (vertical dimension) Take three separate measurements from top to bottom:
- On the left side
- In the center
- On the right side
Again, record the smallest measurement. This accounts for any irregularities in the frame or settling that may have occurred.
- Check diagonal measurements Measure from corner to corner in both directions (upper left to lower right, then upper right to lower left). If these measurements differ by more than ¼ inch, your opening may be out of square, which will need to be addressed before installation.
- Account for obstructions Note any obstructions around the opening such as electrical outlets, plumbing, or HVAC vents. These may need to be relocated before window installation can proceed.
Pro tip: When working with older homes in Maryland, Virginia, or DC, always expect some irregularities. Historic homes often have walls that have settled or shifted, making perfect square openings rare. Professional measurement accounts for these variations.
Checking for Plumb, Level, and Square
Before ordering windows or beginning installation, verifying that your rough opening is properly aligned is critical. Even small deviations can cause significant problems with window operation and weatherproofing.
Plumb check (vertical alignment): Place a 4-foot level against both jack studs on the sides of the opening. The bubble should be perfectly centered. If the wall leans in or out, note the degree of deviation. Older Mid-Atlantic homes, particularly those built before 1950, commonly have walls that are slightly out of plumb due to settling.
Level check (horizontal alignment): Place your level across the header (top) and sill (bottom). Both should show perfectly level. A header that’s out of level can cause the window to bind when opening and closing. A sill that’s not level can prevent proper drainage and lead to water infiltration problems.
Square check: Use a carpenter’s square to check each corner of the opening. All four corners should form 90-degree angles. Alternatively, compare your diagonal measurements—they should be identical if the opening is perfectly square.
What if the opening isn’t perfect? Minor deviations (less than ¼ inch) can typically be corrected during installation using shims. Larger problems may require reframing. This is one reason why professional installation is valuable—experienced installers know how to compensate for common issues in older homes.
Preparing and Adjusting Rough Openings
Sometimes existing rough openings need adjustment to accommodate new windows or to correct problems discovered during pre-installation inspection.
Sloping the sill for proper drainage: Your window sill should have a slight downward slope toward the exterior—typically around 5 degrees. This ensures that any water that penetrates past the window will drain outward rather than pooling on the sill, where it can cause rot and structural damage.
Methods for creating sill slope:
- Shave the outer edge of the existing sill with a planer or reciprocating saw
- Install beveled siding or a sill wedge beneath the window
- For new construction, cut the tops of cripple studs at an angle before installing the sill
Mid-Atlantic weather brings everything from heavy spring rains to hurricane remnants in fall. Proper sill drainage is your first line of defense against water damage.
Expanding a rough opening: If your existing opening is too small for your desired window, you’ll need to remove material. Always remove from the sill (bottom) rather than the header (top) when possible, as cutting into the header can weaken the structural support. If you must adjust the header, add additional framing to maintain load-bearing capacity.
Reducing a rough opening: If your opening is too large, add strips of plywood or dimensional lumber around the perimeter. Use exterior-grade adhesive and fasteners, keeping additions flush with the outer sheathing. For adjustments over 3 inches, it’s better to reframe the opening completely with new studs and blocking.
Installing flashing and weatherproofing: Before replacement window installation, apply flashing tape to the sill and up the sides of the opening. This creates a water-resistant barrier that directs any moisture that gets past the window back to the exterior. Many installation failures occur not because of poor windows, but because of inadequate flashing during installation.
New Construction vs. Replacement Window Rough Openings
The approach to rough openings differs depending on whether you’re installing windows in new construction or replacing existing windows in a renovation project.
New construction rough openings: With new construction, you have complete control over the framing. You can frame the rough opening to perfectly match your window specifications. This typically involves full-frame windows with nailing fins that attach directly to the exterior sheathing. The process includes installing the window before siding goes up, allowing for optimal integration with the weather-resistant barrier.
Replacement window rough openings: Replacement projects present more challenges. You’re working within an existing rough opening that may have been sized for a different brand or window style. Pocket installation—where the new window fits into the existing frame—is often possible if the frame is in good condition. However, if you’re changing window sizes or styles, or if the existing frame shows rot or damage, full-frame replacement may be necessary.
Mid-Atlantic climate considerations: Our region experiences temperature extremes—from below freezing winters to 90°+ summer days—along with high humidity and significant rainfall. These conditions make proper rough opening preparation even more critical. Moisture barriers, adequate clearances for expansion, and proper flashing become non-negotiable for long-term window performance.
Common Rough Opening Problems and Solutions
Even experienced homeowners and contractors encounter rough opening challenges. Here are the most common issues and their solutions:
Problem: Opening is out of square When diagonal measurements don’t match, your window will twist in the frame, causing poor operation and air leaks. Solution: Minor issues (under ¼ inch) can be shimmed during installation. Larger problems require rebuilding the opening or selecting a smaller window that leaves room for adjustment.
Problem: Rotted sill or framing Especially common in older homes where previous windows leaked, wood rot compromises the structural integrity and makes secure installation impossible. Solution: Remove all rotted wood and replace with pressure-treated lumber or exterior-grade materials. Check for mold in surrounding insulation and replace as needed.
Problem: Wall is out of plumb Many older Mid-Atlantic homes have settled, causing walls to lean. Solution: Professional installers can angle the window installation to compensate, ensuring proper operation despite the wall’s lean. This requires experience and shouldn’t be attempted by DIYers.
Problem: Opening is too large Previous window removal or poor initial framing has left an oversized opening. Solution: Build up the opening with dimensional lumber and exterior-grade plywood. Ensure all additions are well-sealed and flush with exterior sheathing.
Problem: Obstructions in the rough opening Electrical wiring, plumbing, or old fasteners create installation obstacles. Solution: Relocate utilities before window installation. This often requires licensed electricians or plumbers and should be factored into project planning and budgets.
Frequently Asked Questions About Window Rough Openings
Q: Can I measure my own rough openings, or should I hire a professional? A: While homeowners can certainly learn to measure rough openings, professional measurement eliminates costly errors. At Thompson Creek, we provide complimentary in-home consultations where our experts measure your openings, assess any challenges, and ensure your custom windows are ordered to exact specifications. This service is included when you work with us, removing the measurement burden from homeowners.
Q: How much clearance do I need around my window? A: The standard is ½ inch total (¼ inch per side), but always verify with your window manufacturer. Some windows may require ¾ inch or more. Thompson Creek windows are custom-manufactured to your specific rough opening dimensions, with clearances calculated to provide optimal performance.
Q: What happens if my rough opening measurements are wrong? A: Incorrect measurements can lead to windows that don’t fit, requiring costly reframing or reordering. Too-tight openings may require cutting into walls or settling for smaller windows. Too-large openings compromise structural integrity and energy efficiency. This is why professional measurement and custom manufacturing are so valuable—they eliminate these risks.
Q: Can I change my window size during replacement? A: Yes, but it requires reframing the rough opening. Making openings larger involves removing portions of the wall and may require a building permit. Making openings smaller is easier but still requires adding framing materials. Our experts can advise you on the feasibility and cost of size changes during your consultation.
Q: Do rough opening requirements differ for different window styles? A: Yes. Double-hung windows, casement windows, and bay windows each have specific clearance and structural requirements. Bay and bow windows, which project outward, require additional structural support and modified rough openings. Your window professional should assess the specific requirements for your chosen window style.
Q: How do I prepare a rough opening for our Mid-Atlantic weather? A: Proper flashing is critical. Apply flashing tape to the sill first, then up the sides, overlapping at corners. Use a high-quality sealant around the rough opening perimeter. Consider a back dam on the sill to direct water outward. These weatherproofing measures are essential for homes facing Mid-Atlantic rain, snow, and humidity.
Q: Should I handle my own rough opening adjustments? A: Unless you have significant carpentry experience, rough opening adjustments are best left to professionals. Structural mistakes can compromise your home’s integrity, void warranties, and create safety hazards. Professional installation services ensure the job is done correctly the first time.
Why Choose Thompson Creek for Your Window Replacement Project
When it comes to rough openings and window installation, experience matters. Thompson Creek has been serving Mid-Atlantic homeowners since 1980, bringing over 40 years of expertise to every project. We understand the unique challenges of our region’s climate and housing stock, from historic homes in DC and Annapolis to modern construction in Virginia’s growing suburbs.
Our complete accountability approach means:
- Custom measurement: Free in-home consultation with expert measurement of all rough openings
- Custom manufacturing: Windows built in our 70,000 sq ft Maryland facility to exact specifications for your home
- Professional installation: Factory-trained crews who understand rough opening preparation, flashing, and weatherproofing for Mid-Atlantic conditions
- 50-year warranty: Industry-leading No-Hassle Warranty covering both product and installation
- ENERGY STAR® certification: All windows exceed 2022 ENERGY STAR® criteria for energy efficiency
- Weather-tested durability: AAMA-tested to withstand winds up to 146 mph—critical for Mid-Atlantic storm protection
We eliminate the middleman markup and warranty confusion by designing, building, and installing your windows ourselves. When issues arise—and with rough openings, they often do—you have one point of contact, one company responsible, and one warranty that covers everything.
Ready to replace your windows with confidence? Schedule your free consultation today. Our experts will measure your rough openings, assess your home’s specific needs, and provide a detailed quote for custom replacement windows that will enhance your home’s comfort, beauty, and value for decades to come. With Thompson Creek’s 50-year warranty and professional installation, you can trust that your investment is protected—from rough opening preparation through the lifetime of your windows.