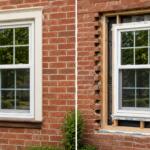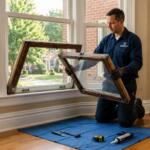
A window that is off by even a quarter inch in either direction can causes real problems. Too wide and it won’t fit the opening. Too narrow and the installer has to shim excessively, which compromises the seal and leaves gaps that let in drafts. Either way, the window gets sent back, and your project gets pushed back for weeks.
The best way to avoid this situation is to get accurate measurements before calling for a quote. It can also make your initial conversation with the design consultant more productive. Walking in knowing your window count, approximate sizes, and any issues you spotted along the way, helps produce a more precise estimate.
Your measurements are a starting point. Thompson Creek’s design consultants take their own precision measurements during the free in-home consultation before any window is manufactured. What you take today helps you understand your home and communicate clearly. What they take determines what gets built.
Why Replacement Windows Require Precise Measurements
Replacement windows are not off-the-shelf products. Every window Thompson Creek manufactures at our 120,000-square-foot Maryland facility is custom-built to the exact dimensions of your specific opening. There is no “close enough” in custom manufacturing.
This is what separates a Thompson Creek window from a stock product at a big-box store. Because each unit is made to your exact specs, accurate measurements are paramount in the manufacturing process.
The Three Things You’re Measuring
For replacement windows, you need three dimensions: height, width, and depth. Height and width determine the size of the unit that will be manufactured. Depth determines which unit profiles are compatible with your existing frame.
Measuring Height
Height is measured from the top of the windowsill (the horizontal surface at the bottom of the window opening) up to the underside of the head jamb (the horizontal top part of a window frame).
Take this measurement three times: on the left side, at the center, and on the right side of the window. The three numbers should be close to one another. If they differ, use the smallest. This accounts for any settling, warping, or irregularity in the frame; you want the new window to fit within the tightest point of the opening.
Measuring Width
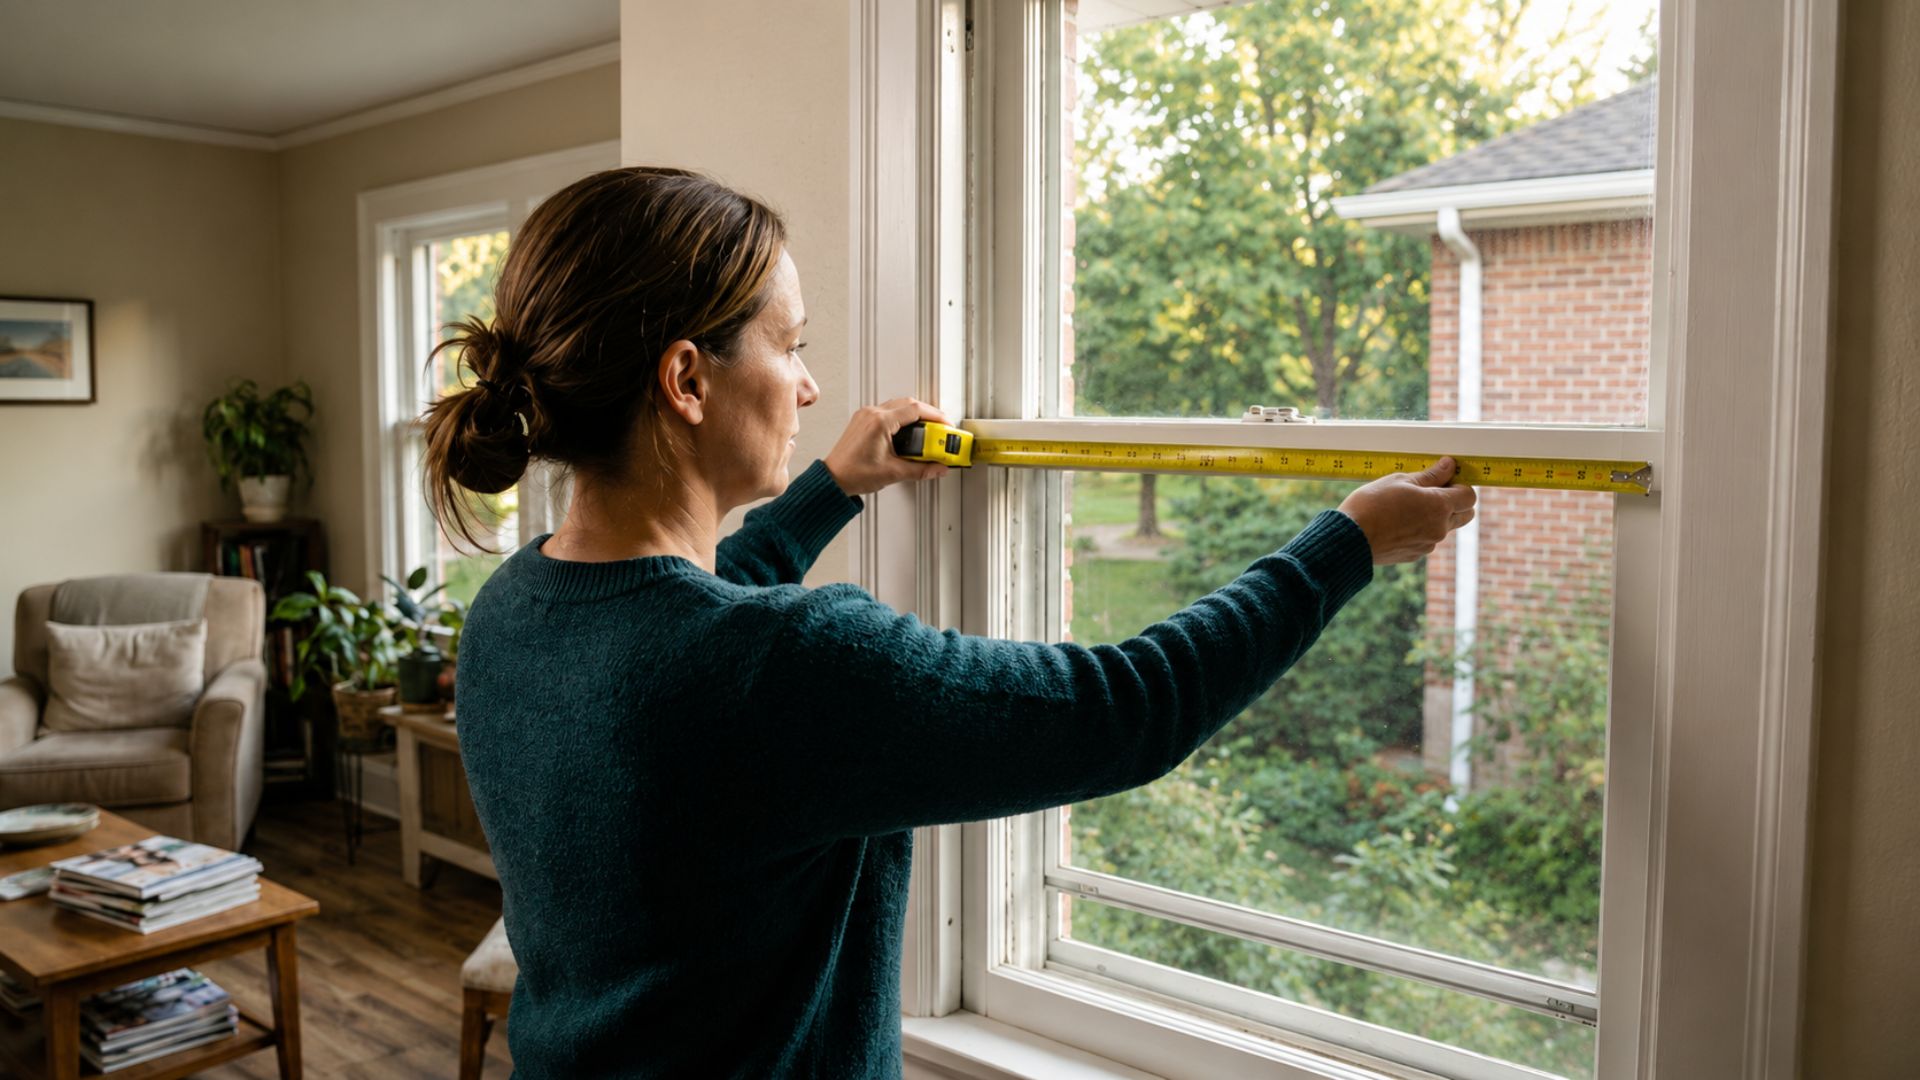
Width is measured between the jambs (the vertical side parts of the window frame) at the top, middle, and bottom of the opening.
Measure from the surface of the jambs, not from the trim strips or parting beads inside the old window’s opening. Again, take three measurements and use the smallest. When measuring, use a metal tape measure and record what it says to the nearest 1/8 inch. Do not round up or down.
Measuring Depth
Depth, also called frame depth or pocket depth, is the front-to-back measurement of the window frame from the interior stop to the exterior stop. This measurement determines which replacement window profiles will physically fit in the existing frame.
To measure depth, open the window if possible and run a tape measure from the face of the interior stop to the rear face of the exterior stop. A standard replacement window requires a minimum frame depth to sit properly. Your design consultant will verify this during the in-home visit.
Where to Measure: Inside or Outside?
For most replacement window projects, measure from the interior of the home. You will have clearer access to both side jambs, the sill, and the head without needing ladders, dealing with weather, or working around exterior cladding.
Measure at the frame itself, not at the interior trim or casing. The trim surrounding your window is decorative. It is not part of the opening the replacement window fits into. Measuring at the trim line gives you a larger number that does not reflect the actual opening.
Step-by-Step: The Full Measurement Process
What you need: A metal tape measure (fabric tapes stretch and are not accurate enough), a notepad or phone, and a pencil.
Step 1: Measure height. Open the lower sash if the window operates. With the tape extended from the top of the sill up to the underside of the head jamb, record the measurement at the left side of the opening. Repeat at the center and at the right side. Write down all three; circle the smallest.
Step 2: Measure width. Measure from one jamb surface to the opposite jamb surface at the top of the opening, at the midpoint, and at the bottom. Record all three; circle the smallest.
Step 3: Measure depth. Open the sash and measure from the face of the interior stop to the face of the exterior stop. Record this dimension. If the depth is less than 3 1/4 inches, note this specifically, as it may limit which unit profiles are available.
Step 4: Note the window type. Record whether the window is double-hung, single-hung, casement, sliding, fixed, or another type. This information is needed for the replacement unit selection.
Step 5: Note any visible issues. While measuring, inspect the frame, sill, and surrounding surfaces. Look for signs of rot (soft wood, discoloration), paint failure at the frame edges, or gaps between the frame and the surrounding wall. This context helps the design consultant prepare for the in-home visit.
Step 6: Repeat for every window. Measure each window individually, even those that appear identical. Openings that look the same from a distance often differ by fractions of an inch.
Common Measuring Mistakes and How to Avoid Them
Measuring the glass instead of the opening. The glass dimension is smaller than the rough opening by the width of the frame on all sides. Measuring glass-to-glass gives the wrong number. Measure frame-to-frame at the jamb surfaces.
Measuring at the trim instead of the frame. Interior trim (casing) surrounds the frame but does not define the opening. Measuring at the trim edge produces a larger, incorrect dimension.
Using only one measurement per dimension. Openings that appear square rarely are. A single measurement taken at the center of a window that is narrower at the top and bottom will produce a window that does not fit at the narrow points. Always take three measurements per dimension and use the smallest.
Rounding measurements. If the tape says 32 and 5/8 inches, record 32 and 5/8 inches. Do not round to 33. When manufacturing windows to custom specs, rounding introduces the same fit problems you are trying to avoid.
When to Let the Professional Measure
For getting a general estimate or understanding your window count and approximate sizes, your own measurements are adequate. Before any window is manufactured, professional measurements are required.
Thompson Creek’s design consultants take precision measurements during the free in-home consultation, verifying frame condition, checking for square, and confirming depth to select the right unit profile. These measurements are what the factory-trained crews at the Maryland manufacturing facility use to build your windows.
Want to know what happens between measurement and installation day? The window replacement process overview walks through every step from consultation to completion. If you are unsure whether your project calls for insert replacement or full frame replacement, the guide on replacement windows vs. new construction explains how frame condition affects which method is right.
Curious how different window styles compare before your consultation? The window styles comparison guide breaks down the most common options for Mid-Atlantic homes.
When you are ready to choose the right product for your home, the double-hung windows page covers the most popular option for homes in Maryland, Virginia, and DC, while the full windows overview shows every custom option available. If your home has older or irregular frames, the casement windows page is worth reviewing before your consultation.
Frequently Asked Questions
Should I measure my windows from inside or outside my house?
Measure from the interior. You will have clearer access to both jambs, the sill, and the head jamb without complications from ladders or exterior cladding. Measure at the frame surface, not the trim.
My three measurements are very different from each other. What does that mean for my window replacement?
A difference of more than 1/4 inch between your smallest and largest measurements suggests the frame has shifted or settled out of square. Note this and mention it during the consultation. It may indicate that full frame replacement is more appropriate than insert replacement.
How do I get a quote for window replacement in Maryland or the DC area without professional measurements?
Your measurements can start the conversation and give you a rough sense of window count and sizing. Thompson Creek’s design consultants take their own precision measurements during the free in-home visit before manufacturing begins. Your measurements help initiate the process; theirs are what get used for production.
What is the minimum frame depth for a replacement window in an older Mid-Atlantic home?
Standard replacement window units typically require a frame depth of at least 3 1/4 inches. If your existing frame is shallower, thin-line replacement options or full-frame replacement may be necessary. Your design consultant will confirm this during the consultation.
Do bay or bow windows need to be measured differently than standard windows?
Yes. Bay and bow windows are composite assemblies with multiple panels, each measured individually. The relationship between panel sizes and the overall assembly geometry makes professional measurement particularly important for these window types.
Measuring your windows is a useful first step that helps you understand your project and communicate clearly with a contractor. When you are ready to turn those numbers into a precise estimate, schedule a free in-home consultation with Thompson Creek. We take the precision measurements, inspect the frames, and build a complete, no-obligation quote backed by our 50-Year No-Hassle Warranty.